Showing posts with label "Before". Show all posts

3.30.2011

Spring Gallery

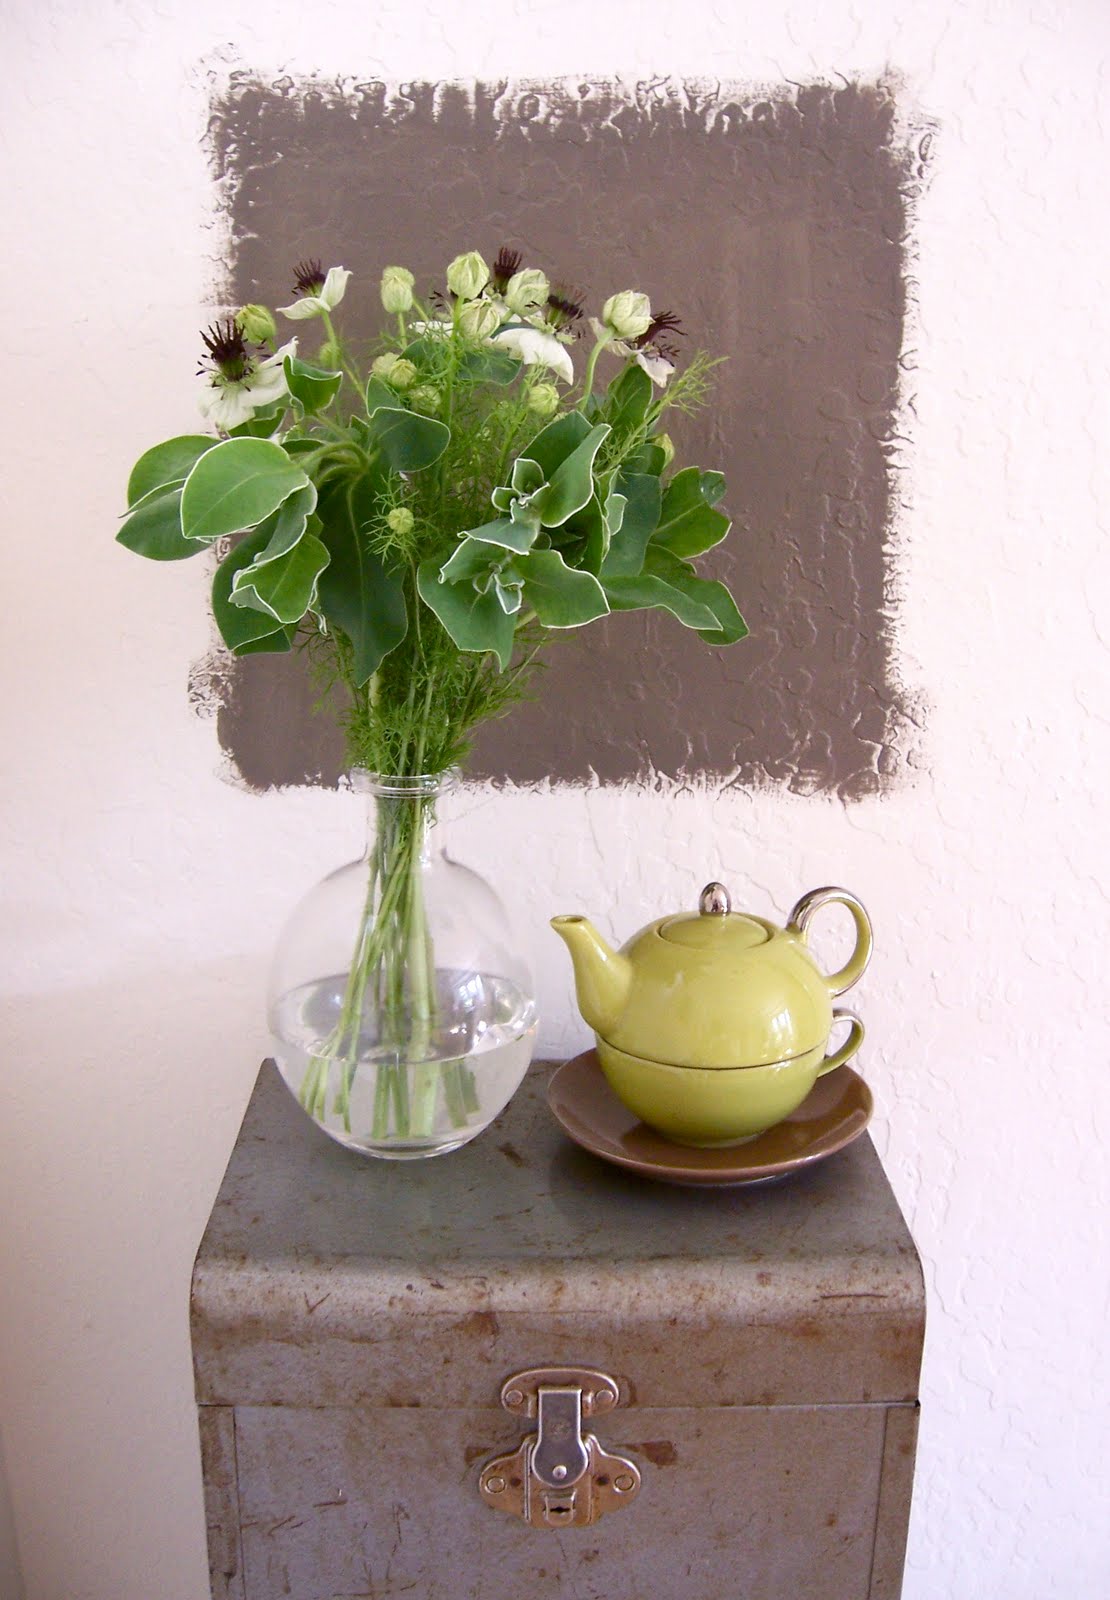
Last week's visit from a swallowtail butterfly prompted me to add some signs of Spring to my decor, starting with a new gallery wall in my living room.


I've been tweaking my living room for months trying to get it just right. When my workspace was featured in Where We Blog From back in November, my desk occupied the corner by the windows. To make the room more comfortable for my Thanksgiving guests, I rearranged and hung new art (as seen below). 


It was an improvement, but the art looked stale and washed-out to me. Finally, last week I found the solution! The Ikea picture ledges allow me to layer frames for more impact, and their modern lines make my eclectic art collection look more graphic than granny. I also realized that I was using the wrong metallic- doesn't that antiqued gold look warm and rich against my mauvey-gray walls? I'm still waffling on adding more color to my decor, but for now, a little glimpse of blue sky goes a long way!


The cloud painting is a promo postcard from an art gallery, and my set of vintage butterfly prints ($5 on eBay years ago) acknowledge the season. The framed W (for WarLock, of course) is perhaps my cheapest and easiest DIY to date. I picked up the golden letter ornament for $1 at Restoration Hardware, mounted it directly onto the cardboard backer of the Ikea frame, and added a guinea feather for good measure. Under $20, under 20 minutes, and I love it. It ties the colors and textures of other pieces together, and the curved line of the feather balances the arrangement. It also happens to be a preview of the themes I'm using for the wedding... so I get a little "I-can't-wait" thrill every time I look at it!


The last and best addition to the living room is the industrial swing-arm wall lamp, a lucky $30 find at Jeremy's in Berkeley. I'd purchased it for my bedroom, but it did something amazing for this formerly  unlit and unloved corner: it turned it into the coziest nook in the house.

I think I'm finally on to something. Anyone else redecorating this Spring?

12.14.2010

Stockings Hung with Care

Our apartment is sans fireplace, which means that Santa's going to have to find an alternate point of entry, and I had to make do without a mantle. I hung our stockings with fleur de lis picture nails on a bare wall in our living room. They were shimmery and festive, but something was missing...


They needed a personal touch, but I'm not handy enough with needles and thread to take on embroidery. Instead I drew out petite banners on black paper and scribbled in all of the WarLock family names...


Now it's perfectly clear where all the coal should go!


We're sharing with the kitties, so most of the stocking stuffers will be catnip treats. Matilda loves unwrapping her own presents (last year she even retrieved them from under the tree), and we figure that Phinney will be thrilled to have paper to shred and new toys to play fetch with. There will be a few presents for Adam and I as well, and since I'm doing the shopping, I already know I love them!


We're looking forward to two more sets of thoroughly stuffed stockings when we go home to Washington for the holidays. Adam has a large family, and this year each person is responsible for contributing some goodies to three other stockings. Everyone will end up with a fun assortment! My family saves the stockings until very last, to be emptied and giggled over as we finish our coffee. 

Are stockings part of your Christmas tradition?

8.27.2010

Announcement #1: New Camera!

That's right! Thanks to some birthday donations from my wonderful family, I was finally able to retire my not-so-trusty point-and-shoot and bring home a new Nikon d3000 DSLR camera.


I had become so accustomed to the limitations of my old camera that I'm still marveling at the d3000's capabilities.

I can capture beautiful light...
or scenes in low light...
texture & color...
minute details...
and fleeting moments...

This camera makes it possible for me to share so much more with you here on the blog: my explorations in California, the progress on our apartment, and Adam's culinary creations. Photography will also be playing a large role in an exciting new project... which I'll be announcing on Monday!


8.16.2010

Reversing Our Books (Again?)

This weekend I scored a copy of San Francisco Style for only $5.99 (hurrah!), and amongst its glossy pages I found the home of Oly & Ironies co-mastermind Brad Huntzinger. If I were one notch creepier I'd be combing the Oakland Hills and peering in windows to see the interior of his house for myself- really, it's that good.

I was particularly in awe of this little library bedroom. It's a snug reading nook, but feels calming and airy- thanks in large part to the unorthodox spine-in shelving. Can you imagine how claustrophobic this room would be if the books were right-way-out? Can you imagine trying to enjoy a passage of delicate prose with Tolstoy, Milton and some crime drama breathing down your neck? (Hypothetically, of course...)


This concept isn't anything new for me. Just last week Sara of The Steampunk Home shared my own spine-in shelving experiment on her blog (thanks to Sara and her readers for such a great discussion!). 


You can see the full original post here.


My original reverse-shelving trial was staged in our old Wallingford apartment, and since then several things have changed. We've moved to a smaller apartment in Berkeley, we now have an entire wall of our living room devoted to our library, and we have more books. If our collection was colorful and distracting before, it's a cacophonous disaster now. I'm thinking that I'm going to take a page out of Mr. Huntzinger's book: round two is in order. 

Thoughts?


7.26.2010

D-I-Whyyyyyyyyy!

Here's a pet peeve for you: when a weekend project stretches into a Monday project.


Consider this a PSA to all you DIYers out there. Having run out of my go-to aerosol paint stripper, my enthusiastically green local hardware store guilted me into trying Ready Strip. The label states that the product takes at least 30 minutes to be effective, but I figured I was better off killing time than braincells. Ha! Let's see if I can reenact the process for you.

30 minutes after application: Is it ready to strip? Hmm. No.
1 hour: Ready? No.
4 hours: No.
8... 12... 24: No, no, NO!

Hour after hour, this useless goop just sat on top of the paint. When I finally got frustrated with all of the pointless scraping and reapplication, I gave up- only to find that cleaning up this disgustingly sticky mess would take another hour of scrubbing. Now I've got a patchy chair and a whole lot of aggression (though I guess that might help with the sanding process).

What a disaster! Anyone else have a DIY-Gone-Wrong to share?

6.03.2010

Perfect Hue

Three weeks of waffling over paint chips and an hour at the paint department, and I've concocted the most beautiful color for my kitchen, hall and entry. It's a deep, velvety greige. It's lavender-toned in daylight, lustrous Earl Grey as we turn on the lamps in the evening. I'm obsessed. I'm going to slather it over every bare wall in this place.


Since it's a custom color, it didn't come with a catchy name. Any votes?


5.19.2010

Clean Aesthetic

I'm big on aesthetics (I suppose you may have noticed that, what with this being a design blog). I'll even admit that I sometimes push it too far. Sometimes I spend $3.00 on a soda just because it says "Curiosity" on the label in a font I find appealing. Sometimes I put humble household products into fancy glass bottles (even though they came in perfectly serviceable plastic containers).

And then, sometimes these odd obsessions converge.


My new dish soap dispenser.


11.04.2009

Now the "Fun" Begins

Poor Adam. Because our belongings arrived in Berkeley a few days late I didn't get enough time to unpack and arrange. On Monday he moved into an apartment brimming with boxes!

Adam, though brilliant, is artistically challenged. At the very least, his taste tends to clash with mine. Think empty beer bottle collection and dart board vs. Great-Grandma's bone china and framed print of J.W. Waterhouse's Crystal Ball (with the skull, naturally). That could get ugly real fast. Thankfully Adam is the pliable sort of boyfriend who generously gives his girlfriend free reign over their home (either that or I'm the bullying sort of girlfriend who selfishly squashes her boyfriend's freedom to decorate?).

Since my excursions to Berkeley will be limited to a weekend here and there we're faced with an interesting project: decorating vicariously.

This week we're getting organized: drawing up a floor plan, taking lots of pictures, creating a list and budget of the purchases that will be necessary to spruce the place up. Here's a bit of what I'm working with...

These are pictures of the space taken when we first toured. The (ugly) furniture in the pictures is not mine!!

The Bathroom
For the sake of your eyes, I've cropped out the heinous broken medicine cabinet and fluorescent light (neither will make it to the next stage of decorating).

The "Living Room"
We're going to be using one of the two bedrooms as our living space.
We've already torn out the closet doors so that the closet can be used as an office nook.

The Kitchen
A corner kitchen that will be quite serviceable. A dishwasher! A hood! A disposal! A double sink!
If we focus on these glorious elements we can ignore the plastic cabinets and odd layout.

The Dining Area
This shows any charm that the apartment might have: the bay windows will accentuate my octagonal faux-bamboo table and chairs!

This is a rough floor plan, showing how we've got our furniture laid out currently. I've omitted the boxes :D
This is drawn from memory and to "optimistic" scale (as in, I hope it's as big as I remember it).

Coming up next, a serious debate: which shower curtain??


10.14.2009

In Limbo

Moving has just gotten as real as can be: on Monday we watched all of our earthly possessions rumble away on a truck. I anticipate being tense and worried until I'm reunited with my things on the 21st.

Okay. Nothing. Move.

For now we're squatting in our empty apartment, subsisting on take-out food, two suitcases, a twin-sized bed, and a 10" television manufactured in 1988. I take it back: this is as surreal as can be!

This apartment and this beautiful neighborhood will always be a fond memory for me- our little urban Eden where we were so happy. Our prelapsarian flat:

Our ever-changing decor, and our beloved curiosities.

The newest addition to our dining room, an Ikea Granemo cabinet.
The glass sliding doors are an excellent preventative measure against our feline saboteur.
Foiled again, eh Matilda?

Our living room, featuring a petite sofa from Former Furniture.

Our bathroom, staged for relaxation.

The best seat in the house: our sunporch, overlooking a lovely park.

In Memoriam, Our Wallingford Apartment

9.22.2009

Decorating by the Book. Or... Not.

I am not so good at packing. A normal person puts their belongings in a cardboard box, seals it up, and moves on to the next. I, on the other hand, put one item in a cardboard box, suddenly recall details about how I acquired said item, and spend several hours in pleasant reminiscence. Utterly hopeless.

For this move, I've decided to pack up books first. This is no small feat, as books (by mass) comprise a considerable percentage of our belongings. It's also rather difficult for me to resist reading as I go. I've stayed pretty strong on that front, but I couldn't help goofing off just a little bit...

A while back an Apartment Therapy blogger presented a trend in book display that piqued my interest. Don't worry- I'm not talking about color-coding!


Image from Crooked House

As you can probably imagine, the comments on this post were, well... "not enthusiastic." I was sort of ashamed to admit it, but I was tempted by the dark side- in this case, the non-spine side!

We have a ton of books. While we love every last word of each of them, we don't love every cover. It's difficult to integrate them into our decor- our bookshelves seem to dominate the room with color and weight.

These shelves represent about half of our library.

So, on a whim, I decided to flip em'.

The picture-perfect results.

As you can see, I went about halfway. I left all of my treasured Everyman's Library tomes right-side-out, but anything that was shabby, neon, or not frequently re-read got the flip. This allowed me to showcase my love of books without sacrificing my color scheme. The occasional visible volume served as a reference point for the alphabetical order. I noticed that the variance of thicknesses and the shades of cream and white made a beautiful backdrop- it was easy to add a few more artifacts without the shelves feeling cluttered. As a whole, everything looked softer, and blended so much better with the muted tones of my living room.

Would I execute this design more permanently? I'm not sure. I loved the visual effect, and honestly- I didn't find it to be terribly impractical. Then again, I know my book collection backwards and forwards. I don't need to see a cover to know a book!

My verdict? Don't judge a book by its cover. I'm talking to you, AT community. Creative book displays don't indicate that the owner "never reads," or "doesn't need them."

Thoughts?

7.10.2009

Junk on a Trunk

I recently received an email from my darling friend Kalin with the subject line "helpppp." With that many "p"s I knew we were dealing with a serious problem- like whether leggings are fashionable or just ironic (both, clearly), or if it is acceptable to bring Miller High Life to a wine and cheese soiree (hellooo, it's the champagne of beers...).

Sure enough, we have ourselves a conundrum. Says Kalin,
Ok, you gotta help me here.
We got an old trunk... and it's needing to be cleaned up and whatnot. Here's the problem: it's metal and wood, and has some weird rust going on...
So i'm thinking scrub it, but i think maybe it needs some paint. I'm guessing the color is just going to be weird and uneven in a not pretty way. If i paint it what color would be good (also, what paint adheres well to metal)? I'm thinking leave the wood...well, you know, clean it off, stain it if it doesn't look so pretty.
I don't know. You should help. I'm sending pictures. Please????
And she did indeed send pictures...

Oooh, is that potential I see?

...under layers of weird rust?

I'm going to go ahead and assume that Kalin got this brilliant idea from yours truly... but I suppose it's possible that she was inspired by old-fashioned trunks popping up on AT or in our favorite retail stores, like Pottery Barn:

The oh-so spiffy Voyager Trunk, which will set you back $799.00.

Kalin, here's my advice: This a trunk with great vintage appeal, but unless you're hankering for a Tetanus shot... you're going to have to get cleaning. Your trunk won't ever be pristine again, but you can certainly make an improvement!

Visit the hardware store and pick up a wire bristle brush, several small and angled paintbrushes, rust converter (or, at the very least, a rust remover), a quart of oil-based paint in the color of your choosing, and some blue painter's tape.

No matter which route you go, you'll be working with some really reeky chemicals. So, my dear, if you don't want to murder those honors level brain cells, I suggest taking this project outside. Start by brushing off as much of the flaky rust as possible, and wiping down the entire surface with damp cloth. Make sure that you dry the surface thoroughly before you move on to the next step.

Tape off all of the wood, trim, and hardware and treat the panels first. If you decide to use rust converter, you'll want to follow these instructions. Rust converter acts as a primer, and will give you a better protected finish in the long run. If you use a rust remover, follow the instructions on the bottle. Either way, your finished surface will not be perfect. You'll have some pitting that might make it a little difficult to paint over.

I suggest picking a paint color that is dark and NOT glossy. A glossy finish is just going to draw attention to all the little bumps and imperfections. Paint in very thin layers to avoid drips and puddles- a dead giveaway of a DIY paint job.

When your paint is dry, you can turn your attention to the trim and hardware. I'd say... don't do much. Touch it up a bit with rust remover, call it good, call it "patina."

Improving the look of the wood should be the easy part. I'd just sand it all down lightly (especially if it's splintering at all), and give it a quick rub with some brown wax. This should preserve the distressed look while evening out the color.

When you're all finished, you'll want to endeavor to preserve the results of your hard work- prevent rust in the future! If you're using this as a coffee table, pick out a cute tray, or at least a set of coasters. You might also consider putting a protective mat of some sort underneath it. Spills happen, and, (I speak from unfortunate experience here) rust stains are impossible to remove from carpet... without scissors. Heh.

Hope that helps, Kalin! Can't wait to see it when I come visit you in Portland!!

6.30.2009

Getting Existential, Hopefully Existing Through the Week

My fish, Guildenstern, is dead.

We named our pair of fish Rosencrantz & Guildenstern thinking it might be amusing when they inevitably went belly-up, but no, it was actually just disappointing and sad. Especially disappointing since I caught a rather satisfied glint in Matilda's eye at his funeral, which leads me to wonder if his death was due to natural causes... or if the feline assassin has struck again. 

Adam made me a chicken sandwich to make me feel better. But there was a bone hidden inside.

So, if Boy and Cat are in cahoots, I may not be safe in this house. If they don't kill me, work certainly will! Leeeeetle bit of stress at my 8 to 5 7 this week.

Aaaaaaand, I'm in the middle of a major project! Since Adam was off at Hoopfest last weekend, I tore apart our bedroom, made a trip to the Benjamin Moore mis-tint shelf, and turned my yellow Ikea Hemnes bed...

Lavender.
Well, "Sandlot Gray," to be exact.

I'm totally enamored with this color.

Adam needn't worry about emasculation or such nonsense- this pastel look is actually just the base coat. Next step is to apply a few streaky layers of tinted glaze in "Stardust," a few dashes of pale pearly gray, and a brown wax finish. Basically, I didn't get as much done last weekend as I'd hoped.  But it's not my fault~

Matilda didn't even raise a paw to help.

So, it's off to the purple bed for me- but I'm sleeping with one eye open in case the furry one tries to smother me.